A couple of weeks ago I wrote about how I come up with ideas for my art, and in this post I'll continue explaining my workflow with the next step: photography!
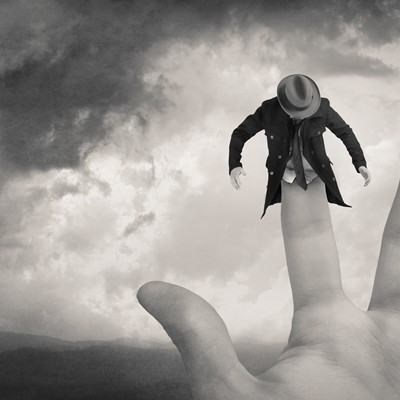
To illustrate this part of the workflow I thought I'd share and talk a bit about the photography I did for my work "Puppet".
My work is 100% photographic, and all my pictures are composed of my own photography. I always try to do as much work as possible in camera because I think that well planned and photographed source pictures are a much better option than doing excessive work in Photoshop. In my opinion camera work will always have better quality and look better than something "fixed" in Photoshop. If you do the photography really well you could technically just print your pictures, cut out the parts you want with scissors and paste them onto an empty piece of paper and be done with it. I find that to be a good reference to have in mind when planning my composites.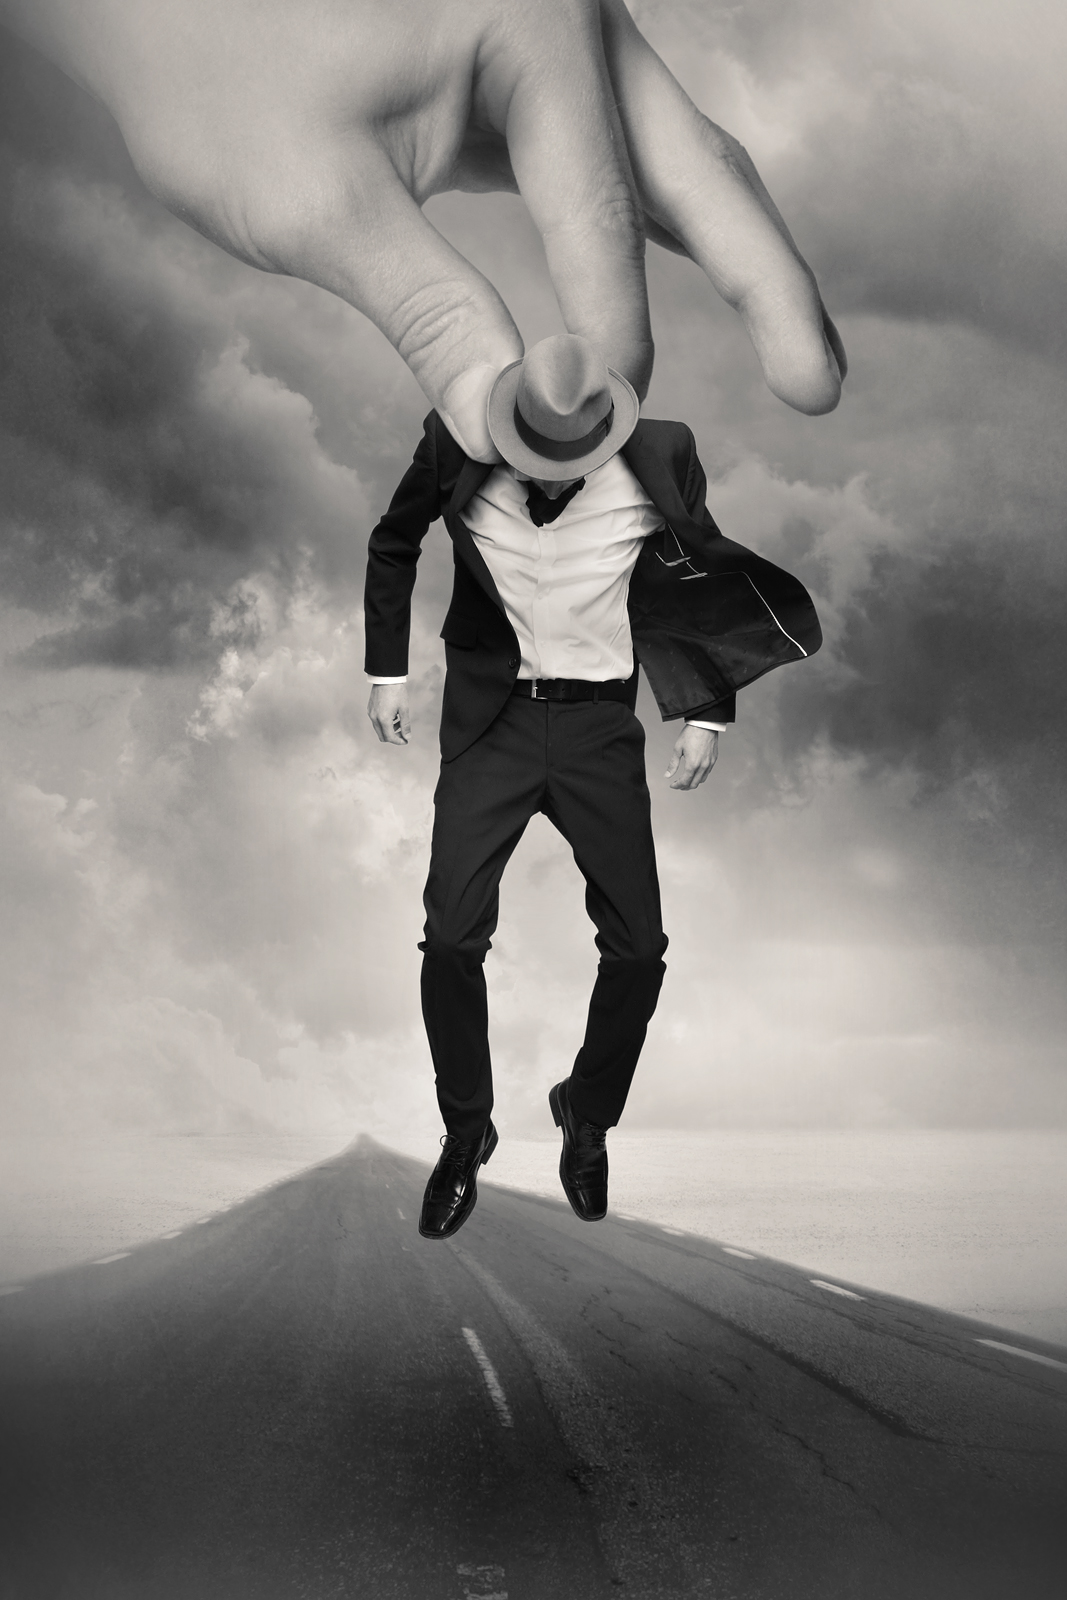
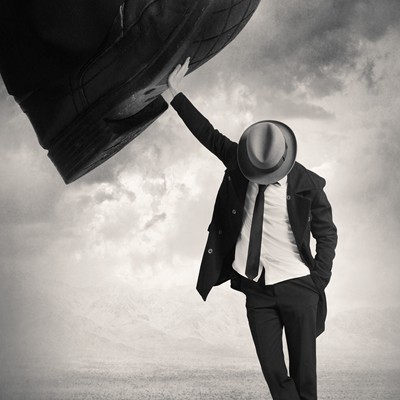
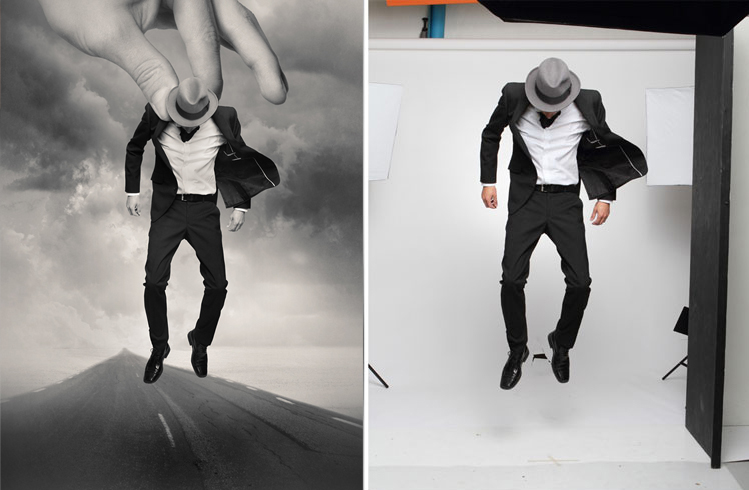
Trying to do as much work as possible with the camera also poses an interesting challenge. When I have an idea for a picture I have to figure out a way to realize it in the best way possible. I really enjoy this part of the work, it's a fun problem-solving exercise and since I don't have an unlimited budget for photo-shoots I am often forced to think outside the box to get the end result I want. The picture above, "Puppet", is a rather simple idea, but it presented a few problems to solve.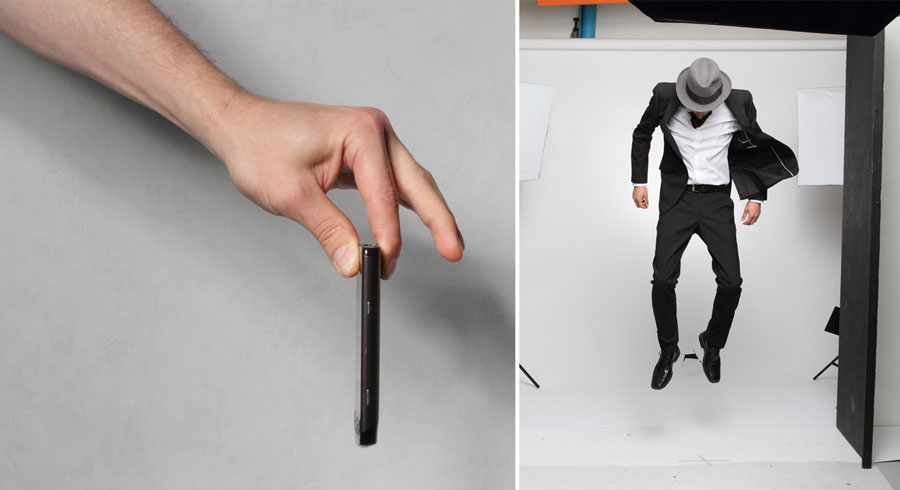
I had to come up with a way to make it look like the model is being picked up by a giant hand. One idea is to try and build some kind of rig to hang him from, but that would be very time consuming and expensive (and probably dangerous, since I'm not exactly good at building things), there would also be wires and stuff interfering with the clothes that would have to be removed in Photoshop. Another solution would be to have him stand on his toes, but that would require a lot of "fixing" in Photoshop to make his feet look like they're not on the ground, possibly merging the main picture with one of his feet above the ground. Both these solutions are also "static", meaning that there is no movement and I would have to try and pose the model in a convincing way, which is very hard to do. Also, to get the movement in the clothes we would have to use a fan. The solution I chose was to have my model jump up and down in the studio, trying to snap the pictures at the highest point of the jump, at that exact moment when he's not going up nor down. This solved all the above problems at once, there is movement in the clothes, and the pose is much better than anything we could have done with a "static" shot; He is actually floating in mid-air.
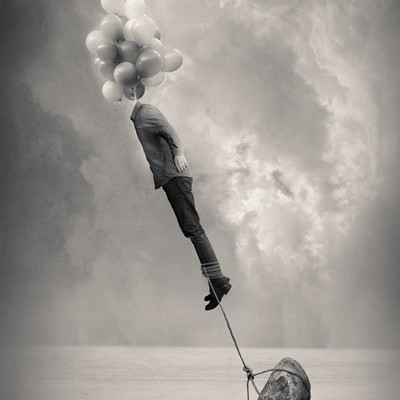
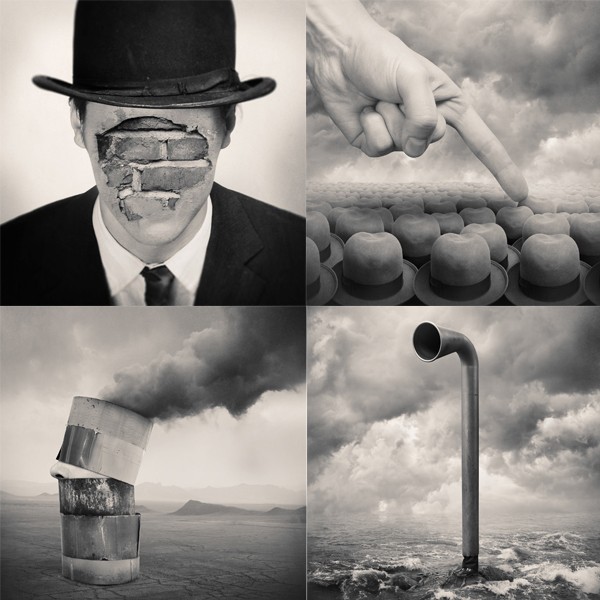
As for the hand shot we tried a few different techniques, but this one worked out best. My model is holding a mobile phone, and by holding an actual object with some weight the pinching looks more realistic than if we tried just posing the hand.
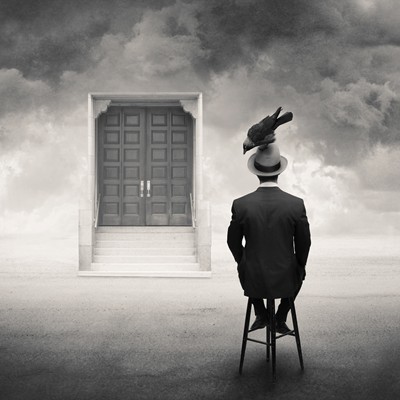
In my art I try to make simple, scaled back compositions with few elements, where every part adds to the story. Sometimes less is more, and for me one of the most interesting challenges of creating the kind of work I do is to try and find a simple but yet ambiguous visual representation of something very complex. In many ways the photography part of my workflow presents the same kind of challenge; the most simple solutions are often the most successful ones!
Of course, there are many more aspects to photo montages, like angles, lighting and backgrounds, but I'll leave that to a future blog post.